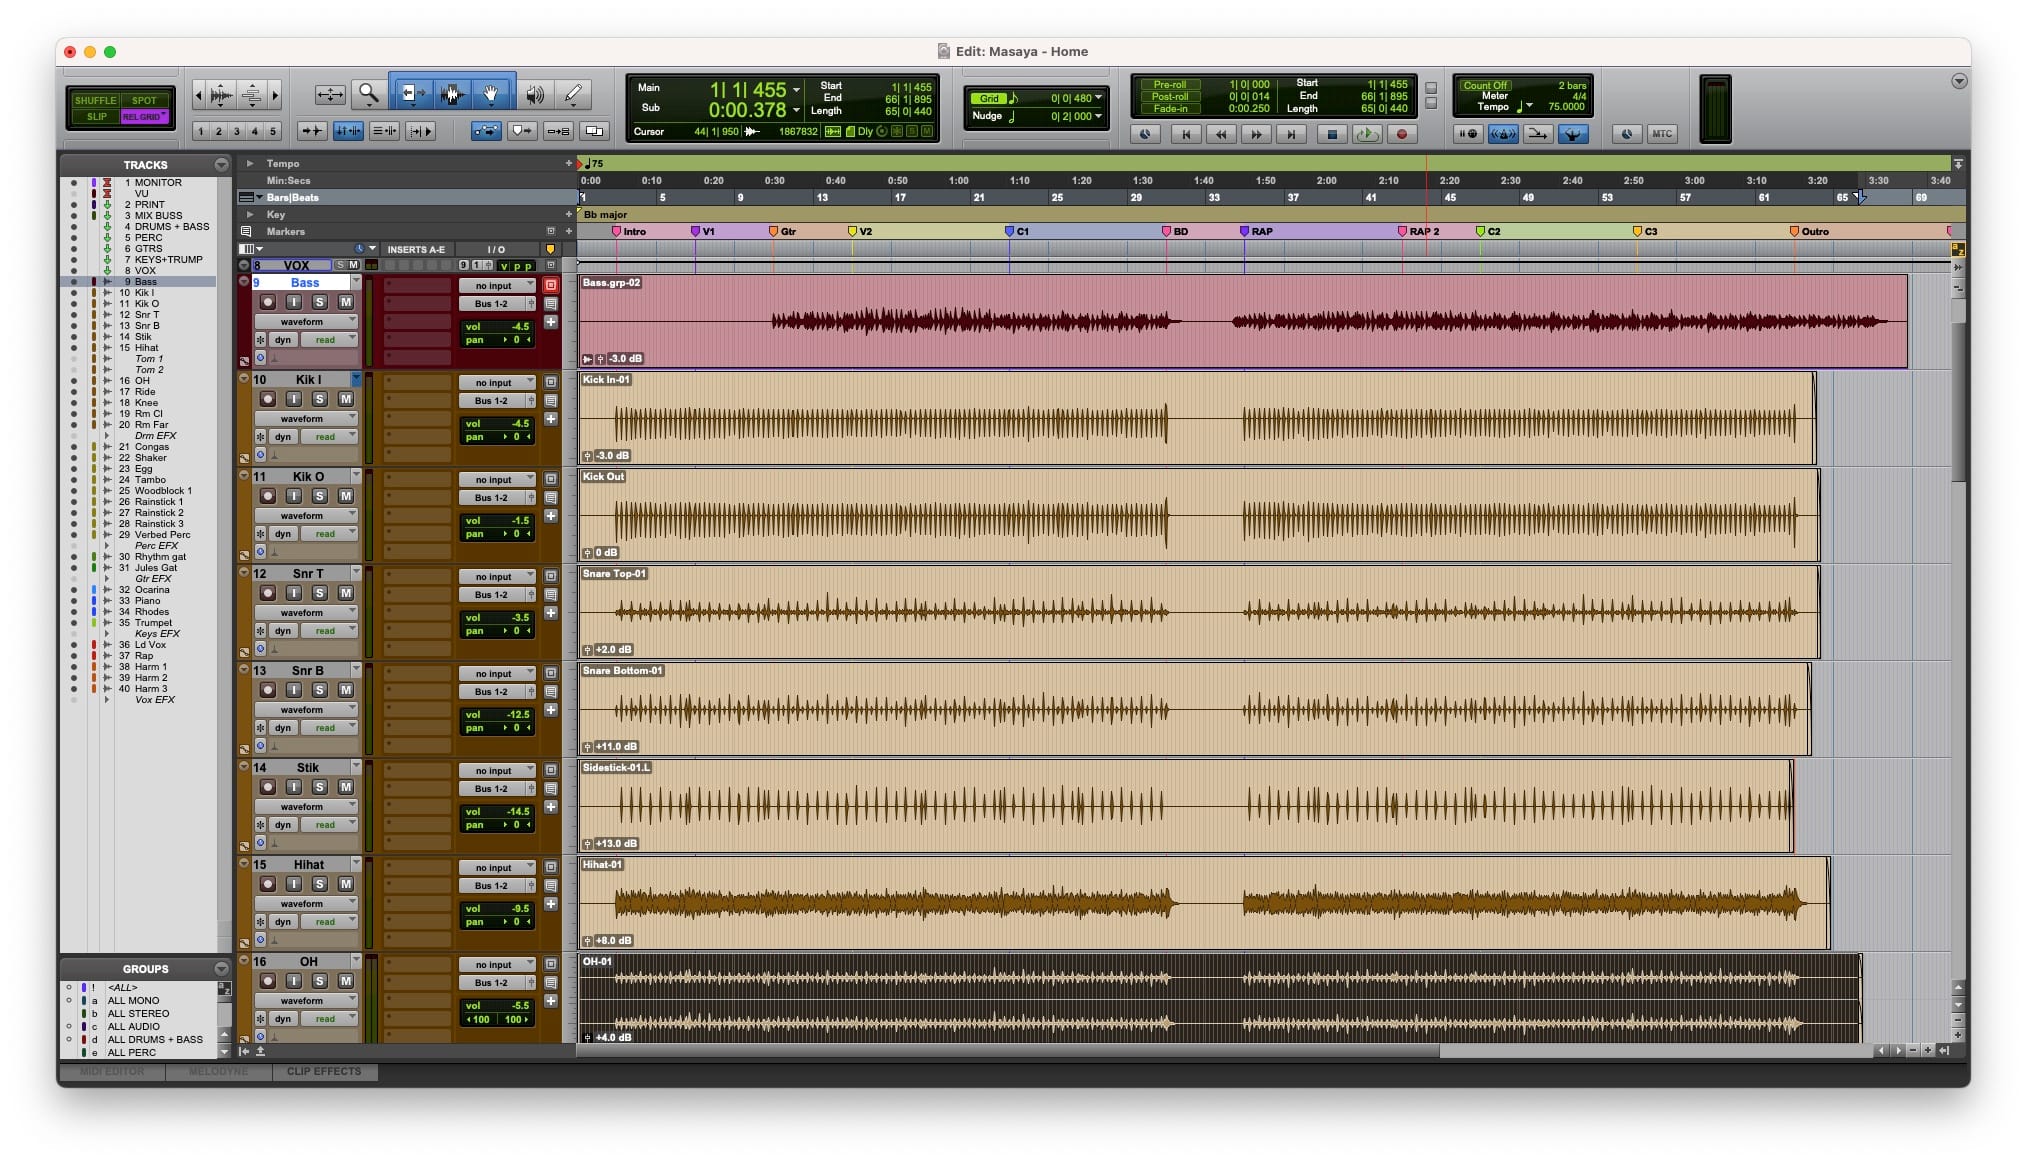
If you’re preparing to send your tracks to Blueleaf Studio (or any other studio for that matter!) for mixing then follow the steps outlined in this guide to make sure everything goes smoothly.

1. Define your vision
1.1 Your Vision
You’ve been poetically musing over your song with pristine visions of grandeur and extravagance. Great – Write it down!
This is all juicy information for the engineer and will provide nuance to the filter from which he hears and understands the song.
Include anything you can think of about your music which might include your vision, goals and/or inspiration in a text document (.txt) called “Info”.
1.2 Your Rough Mix
You’ve likely been working on a rough mix of your own with which you’re in a burning love/hate relationship. Wonderful! Alternatively you might have a rough”tracking” mix provided to you by the recording engineer or producer.
Include this rough mix along with your files. The format or quality is not important.
Please clearly describe what you like and dislike about it in your info document.
1.3 References
This is somewhat optional but recommended. It can really help an engineer understand how you want your mix to feel or what you’re trying to achieve.
If a picture is worth a thousand words then a song is probably worth a billion.
You may want your song to sound a little bit like “Song X” and “Song Y” from your favourite artists. You and may have been, to a degree, using them as a northern star to guide your production process. Providing these will help the engineer examine their mix and work yours in a similar direction.
Include the name and artist of these songs in your info file. Under each song describe what it is that you you like about it.
What do you like about the way these songs sound? The bottom end? The way the vocals sit in the mix? Be descriptive about what moves or inspires you about their overall sound.
Keep in mind that if your song doesn’t contain much similar sonic information as your reference tracks, a mix cannot sufficiently re-create the same vibe or feel as they are simply too different.
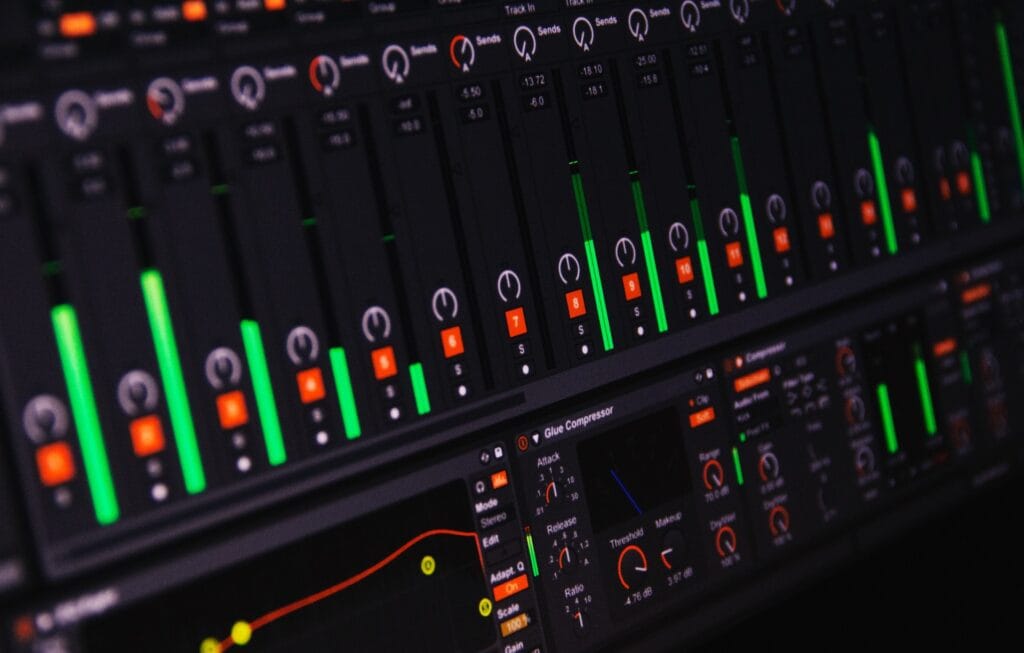
2. Organise Tracks You Want to be Mixed
2.1 Delete tracks you won’t be using.
You can always “save as” so you can get back to your old version where nothing has been deleted.
Scrupulously sift through all the tracks and make sure that everything that’s there is there for a reason. If you have muted tracks, the engineer doesn’t need to waste time trying to find something to do with it to later discover it wasn’t supposed to be there in the first place.
2.2 Clean Up Your Tracks
It’s a great idea to use some good quality headphones for this if you can as you’ll be able to hear the details in the audio more easily.
Add fades and cross fades to breaks in audio regions. Make certain that nothing is cut off. If in doubt, leave more silence and make the fade further away from where the audio starts or ends.
If there is dead space between transients where there is room noise cut it out, But be careful not to remove tails of any performance like ends of words or the ringing out of the drums.
Check for pops, glitches, noise and other issues with the audio. If there are issues you can’t settle, be sure to describe it in a note for the engineer and see if they have a solution.
Set a level of each track with sufficient headroom. Ideally audio will peak around 6dBfs.
You’ve likely been listening with all of your levels absolutely cranked to get the most juice out of your playback. In order to process your tracks, an engineer will need headroom to perform necessary tasks.
No tracks can be clipping (in the red). Shoot for an average of -18dB and a maximum of -6dB, but this doesn’t have to be exact.
If you haven’t already turned your MIDI tracks into audio tracks to reduce CPU usage, be sure to bounce them in place as audio, or export them as audio. This will require that you commit to the sounds you’ve created.
2.3 Pitch and Time Correction
These are very time consuming tasks.
Not all mix engineers include this in their pricing (I charge extra), so if you’re looking to have your vocals tuned or your drums edited, this may come at an extra charge and the price can depend on the scale of work to be done. Alternatively you can do this your self. If you do, ensure these corrections are committed to your audio before sending.
2.4 Decide On Processing. Turn most off.
Nearly all processing plugins should be turned off. Especially on the lead vocals and drums.
If there are certain delays, reverbs, modulation effects, etc. that you have been using and are absolutely in love with, feel free to leave them on the track, or even better export two versions of the tracks – one with effects and one without. You can also provide audio files of just the effect (100% wet) on it’s own, along with the dry audio.
It’s of no use having an engineer try to reproduce something you’re already in love with. If, however, you like what your idea is pointing toward but is not quite hitting the mark, mention this in the notes.
If for instance, you are sure of the type of reverb you’d like on a given instrument (spring, hall, plate, etc) but are not happy with the parameters you’ve set, be sure to mention the type of reverb you’d like.
Remove all EQs and compressors from your channel strips and mix bus. Your tracks should sound pretty dry at this point and that’s okay.
3. Export Your Files and Send Them Over
3.1 Label Your Tracks Clearly and Logically
This is pretty self-explanatory. Here’s an image of a good looking session folder:
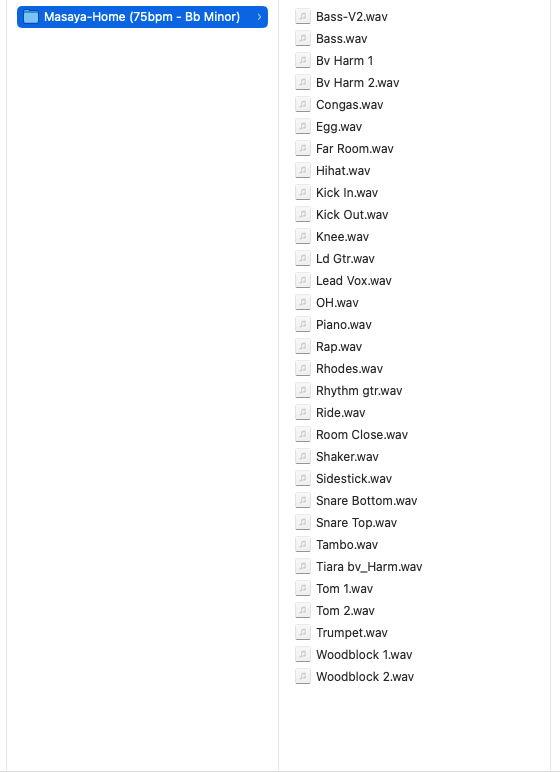
Leave no guesswork for the engineer as to which file is what. That’s like categorising a collection of images only labeled “img.jpg.”
Try to keep names short, but descriptive.
3.2 Name the song folder correctly
Name the folder after the title of the song and include the BPM and key of the song.
For example: My Song (120BPM – Bb minor)
3.3 Export the tracks
If you are unsure how to export files from your DAW, do a simple YouTube search as there are tons of step-by-step tutorials with detailed instructions on exporting from every DAW imaginable.
Export all tracks as .WAV files at the same bit rate or sample rate you recorded them at.
Mix engineers typically work with both AIFF and WAV files, though the format of choice is almost always WAV.
Be sure to export all tracks with the same starting and ending point. This way the tracks all line up when imported.
Once all is exported into the folder, do a double check to make sure everything is there and that the naming is clear.
Make sure all drums are exported as individual audio files if possible. Avoid sending them mixed together unless it’s a “sampled” loop or other additional part. Your main drums should nearly always be sent as separate kick, snare, hi hats etc…
3.4 Include Info for Mix Engineer
Put your info file in the same folder as your exported WAV files.
3.5 Discuss Deliverables With Engineer: Manage your expectations
Your engineer will offer a set amount of free revisions – For me this is usually 3.
This is effective for both parties as it allows you the client to reflect on your vision and direct the engineer in any way he may have steered off path.
It protects the engineer from overly neurotic and unreasonably perfectionist artists who could revise their work to no end.
At some point, you just have to pull the trigger (but please don’t shoot anything).
Apart from the Main Mix to be mastered, you may also need:
- A clean version of the track which cuts out curse words as to be fit-for-radio.
- A TV Track which includes all but the lead vocals. An instrumental version.
A lead vocal acapella version. - Instrument stems for remixes. This will be individual files of solo’d drums, vocals, guitars, synths, etc. so that the remixer can take the elements they like and process them as they wish.
List the alternative mixes you need inside the info file.

4. Send the files
4.1 Double check everything
You can use my mixing checklist to make sure you’ve included everything you need to and that all the files are correct.
4.2 Zip it up
It’s much easier to send a single file. Compress or Zip your folder. This will also reduce the fuel size slightly. Your main folder will either be named after the artist, or if only one song is being mixed, the name, tempo and key of the song.
4.3 Send it off
Your zip file will almost certainly be too big to send in a conventional email (if not you’ve probably done something wrong). You’ll need to use another means of getting them to the mix engineer.
If the mode of delivery hasn’t been specified by the engineer, DropBox and WeTransfer are probably the best ways to send the file, but you can also use Google Drive.
If you’ve got any questions, comments or feel something crucial was not covered above, feel free to reach out or leave a comment below.