
So you’ve recorded your vocals and you’re really happy with the performance, but you just can’t get them to sit in the mix properly!
There is no one-trick fits all when it comes to mixing vocals but there are a few techniques that when used correctly and appropriately will give you professional sounding vocals that sit well in the mix.
Here are 10 things I often do when mixing vocals to get them to sit in the mix just the way I want them. These are presented in no particular order of importance, and you may only need to apply one or two to get your vocal where it needs to be.
There is no one-trick fits all when it comes to mixing vocals but these are all good things to know, and when used correctly and appropriately will get you professional sounding vocals that really sit in the mix.
In some mixes, you don’t want to vocal to sound like it’s in the front. In this case you still need to ensure that it has it’s own “space” in the mix. Make sure it occupies a depth and/or frequency field that other elements don’t. If you don’t do this you will struggle to hear any clarity around the vocal. This is usually accomplished with correct compression, eq, reverb and early reflection processing on all elements of the mix.
1. Carve out a space in the mix for the vocals.
The vocals are usually the most important thing in a mix, everything else can take a back seat. You can make more space for them by panning other elements out of the way, using EQ to make sure they focus into frequency ranges not needed by the vocal and compression to make sure they don’t move into the vocals space.
A little bit will go a long way, no need to go overboard. For example, you might try widening a piano or panning guitars off to the sides so the vocal can sit centre a bit more clearly.
Often you will find you need to think more about changing the other instruments to accommodate the vocal rather than trying to force the vocal to be something it isn’t.
The depth field is also very important in giving the vocal space in the mix. If you want your vocal upfront then you need to make sure other elements don’t come forward too much and that you have some contrasting sound to provide a backdrop. If you want your vocal to sit back a bit you need a contrasting forward dry element and to make sure other things such as reverb, pads or guitars don’t fill out the space where the vocal is.
2. De-ess.
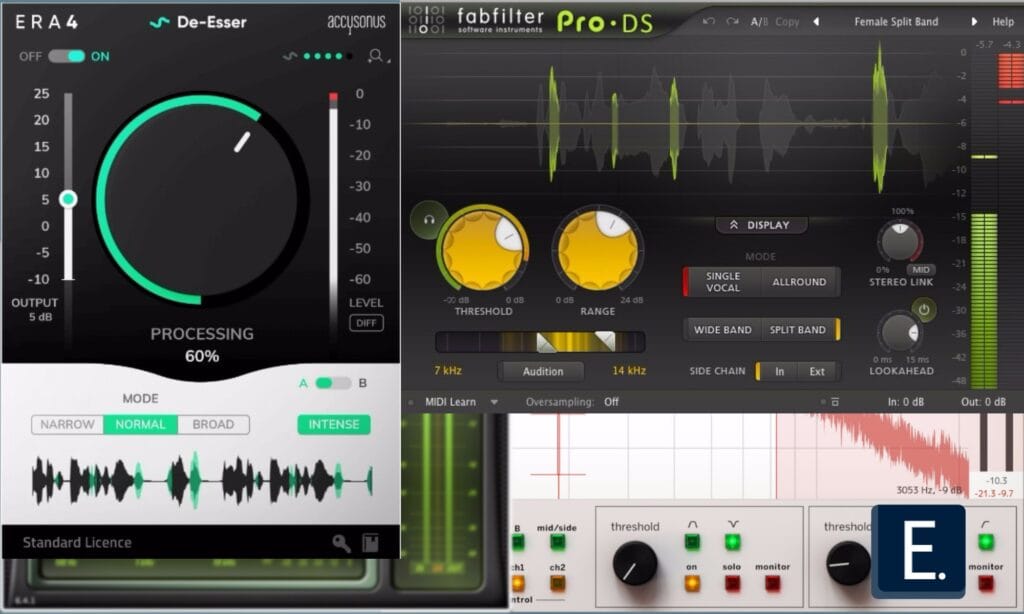
If theres a lot of “esses” of sibilance in the sound apply a de-esser.
You’ll usually probably want to put the de-esser after any compression, although you can experiment with it. You can even add a second de-esser. On a really sibilant vocal I often use two de-essers each doing a small amount of gain reduction. Generally, making two work less sounds better than making one work hard.
I generally aim for 3-6dB or so of gain reduction on the esses, but try to find a setting that tames the esses but also allows them to sound natural.
Be careful it doesn’t make you sound as though you’ve got a lisp, if it does then pull back on the amount!
3. Cut out the silences and De-breath:
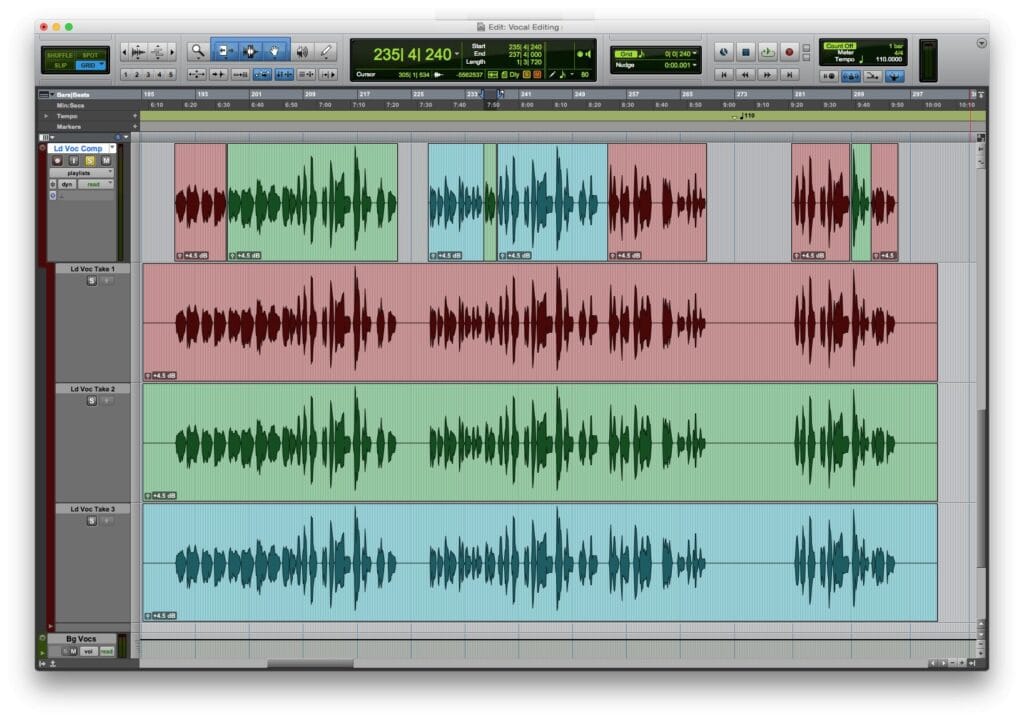
Cut out all the spaces where the is no vocal sound – where you might hear headphone bleed, thrusting of a lyric sheet or general noise. The tighter your editing chops the tighter the sound will be. Although strictly speaking, this isn’t mixing vocals, it’s vocal editing, it’s often essential to getting a great sound.
Depending on the mic placement and vocal technique, breaths can sound quite loud once you’ve added compression. Usually you don’t want to remove the breaths completely as they’re an essential part of a natural vocal, even if they’re not distinctly audible in the mix.
The classic way to edit breaths in a vocal track is to literally cut up the audio in your DAW, then turn down the breaths using the clip/region gain or whatever your software has.
Another way is using a plugin such as Waves De-breath or iZotopes RX Breath-control module. If you use a plugin option, then make sure you listen to the whole vocal track to make sure nothing has been cut out that needs to be in there. Also be aware that these plugins usually add a lot of latency in order to be able to detect the breaths before they occur.
4. Filter the bottom end:
There’s often lots of energy below 80hz or so due to microphone proximity and/or noisy recording environments.
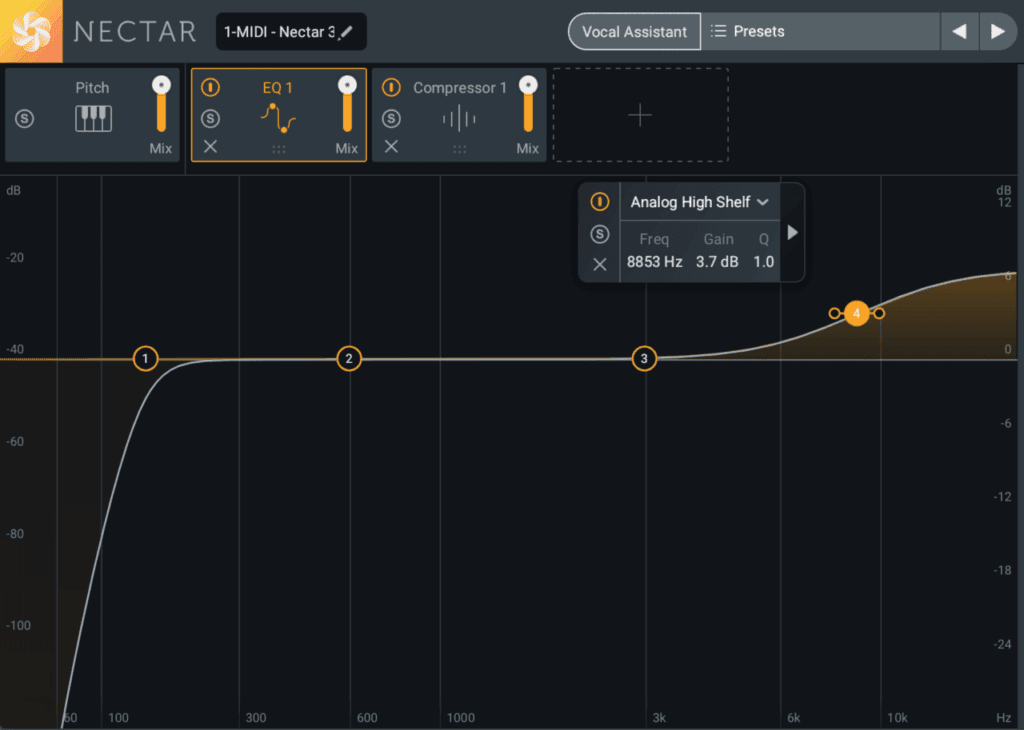
Filter that off with a high pass filter and this will help to “lift” the vocals above everything else. Be careful not to cut the body off the vocal sound though. Usually a 12dB per octave filter in the region of 60-80 Hz will work best but it can be more or less depending on the material and how natural you want it to sound.
As a rule of thumb, do this as the very first thing in your vocal processing chain – but beware, it you’ll likely need to adjust any compressor thresholds that come afterwards as there won’t be as much low energy triggering the compressor.
5. Add some air:
High shelf boost somewhere around 10-16kHz or above – this won’t change the tone much but will rise the vocals up “above” everything else. This is the classic position for pop vocals in a mix.
Be carful not to make the vocal too harsh or sibilant. Often (but not always) I apply the air boost before any de-essers.
To increase the effect consider low-pass filtering other instruments in the mix – not so they sound dull but just so the vocals are the thing with the most-ultra high frequency energy.
Use this technique sparingly in some styles, as it’s not always appropriate in all genres or for all approaches.
6. Boost 1-4kHz area for clarity, 100-200Hz for body:
Usually a boost around the upper mids can increase the clarity of the words, as well as making the vocals seem closer to the listener. The exact frequency depends on the voice and rest of the mix, you’ll have to use your ears.
If the vocals sound thin, or to add some extra warmth and body, boost the fundamental frequency in the 100-200Hz range.
Often what you do here will depend to a large degree on the rest of the track. When vocal mixing, you need to fit the vocals clearly into their own place in the mix.
Once you’ve made these boosts (often 3db or less is enough) bring down the output of the EQ or channel strip and you have effectively cut all the frequencies other than the ones you’ve boosted.
7. Mix the drums and other elements back
To get a vocal to sound clear and yet also feel like it’s part of the music it is crucial to mix the other elements of the track to accommodate it.
Often, when I hear amateur mixes, the drums are taking over from the vocals as the main point of focus. Sometimes the vocals seem to be sitting in the right space but the drums sound like they’re in front of the singer. This is very easy to do, we all love making drums sound punchy, loud and big, but this can detract from the main focus of the song – i.e. the vocals.
Mix the drum level while listening to the vocals, when it gets too much and starts to obscure the vocals you’ll hear it; that’s the ball park for the drum level in the mix.
Apply compression and EQ in such a way that the drums don’t appear to come any further forward than just behind the vocals.
The same thing is sometimes true for guitars and even keyboards. Always make sure they’re not stepping on the vocals unless it’s appropriate.
8. Compression:
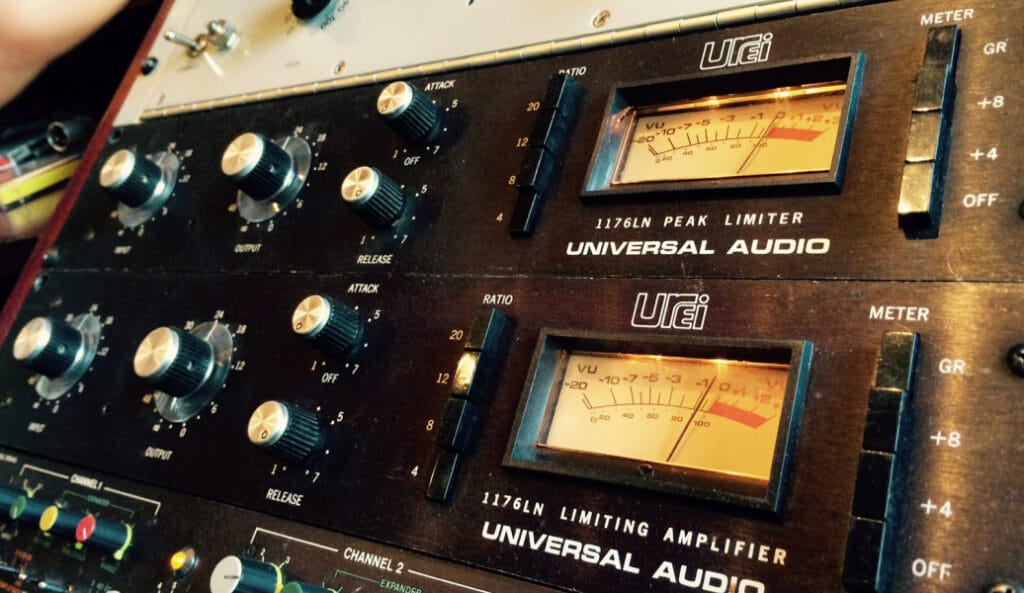
Because the human voice is so dynamic, compression is usually a must when mixing vocals in most genres of music. Add some compression with a nice flavour to help the vocal stand out. Some sort of FET compressor like a 1176 emulation (Waves CLA-76, Logic stock compressor on the FET setting…) is a popular choice for vocals. Or something like waves RVox will work well. Don’t use the same compressor on other elements of the mix so that the vocal retains a special treatment thus helping it to stand out.
Don’t squash them too much, 3db or so of reduction can be enough – the idea is to steady them and bring out some of the detail in the voice which will make the vocal pop out a bit and seem consistently closer to the listener.
A mid-level compression can really help to bring out the detail too. Generally this is a transparent digital compressor (such as Fab-Filters C-2) with a fast attack and release, low ratio between 1.1:1 and 1.5:1 and threshold around -40dB. This can really help to level out the peaks and bring up the quiet parts of the sound without sounding like it’s there at all.
Attack and release are very important, you need the compression to “breath” with the rhythm of the track, and you can also achieve different placement in the depth field.
- Start with a medium attack time around 15ms and adjust to taste. A fast attack (5ms) will make your vocals sound thick and heavy. A slow attack (30ms) will make your vocals sound punchy and aggressive.
- With the release setting you can start around 50ms and adjust (probably up) from there to try and get it pumping with the music.
- You can also use multiple compressors if needed but be careful as you can easily overdo it – the effect is cumulative.
9. Parallel compression:
This will add a ton of focus and can even make the vocal seem much louder. It’s the “secret sauce” of vocal mixing.
Use a compressor plugin with a “mix” knob, or send the vocal to an aux channel. I prefer to use a bus going to an aux channel strip because that way I can blend in the parallel to the existing mix and also process it separately (for example with an EQ).
Once you’ve got your compressor out, apply some really heavy compression settings, totally flattening it – like 10dB+ of gain reduction all the time.
Turn the compression “mix” (or sometimes labeled dry/wet) all the way to zero (or dry), or turn the aux fader all the way down, then mix up the heavily compressed signal to taste.
You should hear a focusing and thickening of the vocal sound as you mix the compressed signal with the uncompressed one while maintaining the dynamics of the vocals thanks to the uncompressed signal.
10. Slap delay.
Use a very short stereo delay or reverb, set to a matter of miliseconds (usually somewhere between 30-100ms does it most of the time).
Filter the delay or reverb to cut off the low and probably the high frequencies (only on the delayed signal).
Offset one side of the delay by a few ms to get a wider effect although you can also try a mono slap too.
A bit of early reflections from a room or hall reverb can work instead if you don’t get good results with a delay.

That’ll probably do!
These are all things I’d do when mixing vocals most of the time, google is your friend, there’s tons of info about all of these techniques out there as well as video’s where you can hear them in action.
Just keep your ears open and if one of these things isn’t working well then it’s probably not right for this track/mix.
I hope that helps you, If all else fails, you could always pay me to mix it 😉